
An Introduction to Book-Binding … Workshop
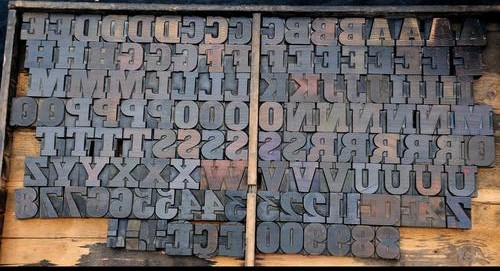
Two weeks ago, my paper history course had its latest workshop, on printing. We were fortunate to use the under-utilized printing facility at Stevenson in a workshop led by printer, artist, instructor and proprietor of Pellinore Press, Ursula Minervini. A few of my colleagues in the Public History Department even visited for the event!

Our final workshop–dedicated to book-binding–will be held in just a few short weeks.
This will be another difficult session to manage in terms of time, as we attempt to balance readings (theory, history) with the hands-on approach (practical, critical-making) I’ve tried to model all semester.
Because of time restraints, I’ve asked a little more from students with this assignment than past work this semester. Two weeks before the project, I gave students four types of book-stitching patterns and asked them to not only review them, but also make some critical decisions related to the type of book they will produce in this session (stitch-type, size, cutting and folding) and to arrive to class with paper/boards. Below is the assignment that will tentatively follow this preparation:
The Assignment
Time Allotted: 90 minutes
Bookbinding is a crucial, yet often neglected, process in the History of the Book. We have already seen some of the earliest types of binding with wood boards and palm fronds in the East. In the West, binding developed by the sixth century with the rise of the codex and again during the Middle Ages with the emergence of the illuminated manuscript. The 18th century witnessed a surge in book production and, gradually by the period, the role of binding became separate from both paper-making and book binding. Binding itself became an art form and profession.
Due to time restraints, we can’t practice complicated sewing projects or perfect binding (using glue as the spine adhesive since it takes time for the layers of glue to dry). But again this exercise is intended to only give you a glimpse into the process.
On Blackboard, I have offered a small sampling of “simple” sewn book binding models (book scans & DIY videos). For this project you are encouraged to do some research on your own, but ultimately your project will probably fall into one of the categories below.
*BEFORE ARRIVING TO CLASS….
(1) Have a plan:
Do your homework, and decide what kind of binding you will do in class.
(2) Project, Paper & Initial Cuts:
Bring your paper (and required materials) with you and, if possible, make the initial cuts or folds. The more prepared you are, the better.
Materials I will Bring to Class
- Clips
- Awls
- Bone folders
- Scissors
- Rulers
- Waxed thread and ribbon
- Cutting mats
- Needles
- Glue
- Selected 8.5×11 white / color copy and card stock paper
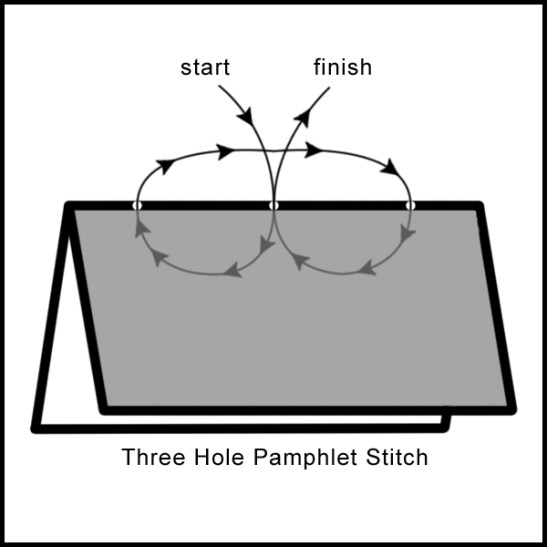
Stitch Models
Three-Hole Pamphlet Stitch
YOUTUBE VIDEO:
Five-Hole Pamphlet Stitch

YOUTUBE VIDEO:
Four-Hole Japanese Book-Binding
YOUTUBE VIDEOS:
4 comments on “An Introduction to Book-Binding … Workshop”
Leave a comment


Reblogged this on Mulberry, Mummies & Marshes.
LikeLike
Pingback: Types of Book-Binding – Mulberry, Mummies & Marshes
Pingback: Types of Book-Binding: An Introduction | K. A. Wisniewski
Pingback: Bookbinding / Bookmaking Workshop Results | K. A. Wisniewski